Frontend/리액트를 다루는 기술
(1) 클래스형 component의 state
creativeDeveloper!
2023. 2. 10. 23:43
728x90
# state
- 컴포넌트 내부에서 바뀔 수 있는값
- 두가지의 state가 있다.
클래스형 component가 가지고 있는 state
함수형 component가 가지고 있는 useState라는 함수를 통해 사용하는 state
# 클래스형 component
component에 state를 설정할 때는 constructor 메서드를 사용한다.
클래스형 컴포넌트에서 constructor를 작성할때는 반드시 super(props)를 호출해줘야 한다.
이 함수가 호출되면 현재 클래스형 컴포넌트가 상속받고 있는 리액트의 component 클래스가 지닌 생성자 함수를 호출해준다.
그 다음에 this.state값에 초깃값을 설정했다. component의 state는 객체 형식이여야한다.
render 함수에서는 현재 state를 조회할때 this.state를 조회하면 된다.
그리고 button에 onclick을 props로 넣어주었다. 버튼이 클릭될때 호출될 함수를 설정한것이다.
=> 이를 이벤트 설정이라고 한다.
이벤트로 설정할 함수를 넣어줄때는 arrow function 문법을 사용해서 넣어준다.
함수내부에는 this.setState라는 함수를 사용했는데, 이 함수가 state값을 바꿀수 있게 해준다.
import { Component } from "react";

class Counter extends Component {
    constructor(props) {
        super(props);
      //state 초깃값설정하기
        this.state = {
            number:0
        };
    };
    render() {
        //state를 조회할때는 this.state로 조회한다.
        const {number} = this.state;
        return(
            <div>
             <h1>{number}</h1>
             <button onClick={() => {
                //this.state를 사용하여 state에 새로운 값을 넣을 수 있다.
                this.setState({number:number+1});
             }}
             >
                +1
             </button>
            </div>
        );
    }
};

export default Counter;
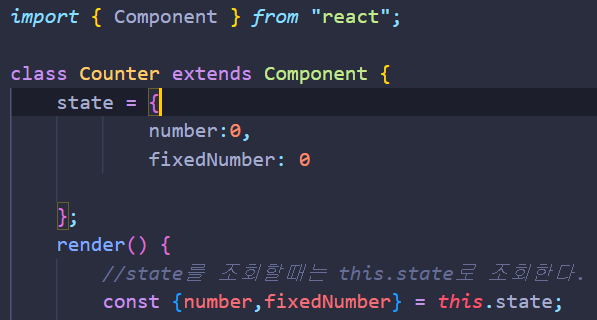
더 간단하게 하기 위해 constructor 메서드를 선언하지 않고도 state 초깃값을 설정할 수 있다.
이제 App에서 Counter 컴포넌트를 불러와 rendering한다.
import Counter from "./Counter";

const App = () => {
  return(
    <Counter></Counter>
  );

};

export default App;
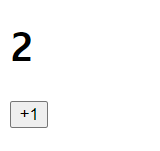
+1을 클릭하면 숫자가 증가하는것을 볼 수 있다.
728x90